Understanding Canon Focus points
Exbury Gardens is a 200-acre woodland garden located in the heart of the New Forest in Hampshire, and this was a great opportunity to get a better understanding of Canon Focus points on my Canon Camera.
Just a short drive from our house, and noticing they had a Falconry display on, it seemed a good idea to get out there and blow the cobwebs off the Canon 1DX Mk2 that I hadn’t really used properly.
I was also keen to put the 100-400 L IS II lens through its paces.
Here is a short video in my Learning to Make Better Videos section over on my YouTube channel.
Understanding Canon Focus points
The main reason for the trip was to try and work out some of the Focusing options on the Canon 1DX Mk2, and get a better understanding of Canon Focus points.
We (my son and I) arrived in the pouring rain and killed a couple of hours before heading to the area where the Falconry display was taking place.
When we arrived at the area, thankfully the rain had abated and we could enjoy the next hour or so in the relative dry.
We were greeted with about 10 birds of varying breeds, all lined up on their perches, behaving impeccably.

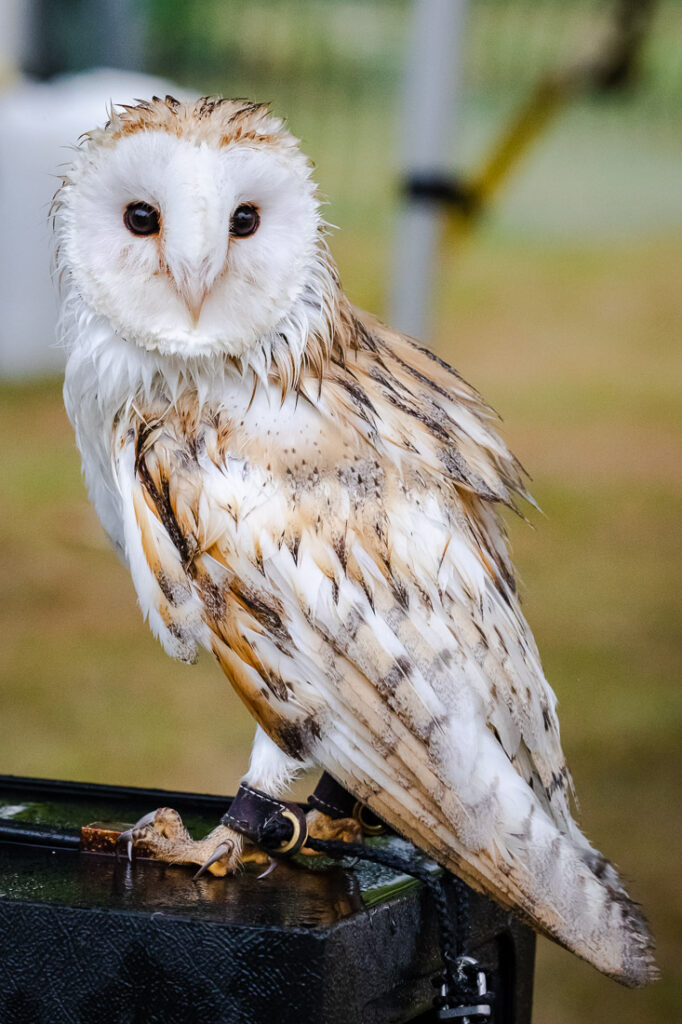


This enabled me to get a few nice shots of them sitting patiently while we all gawked at them. By now, there was a group of about 40 people waiting to see the displays.
It would be explained to us, that we needed to ensure we were all suitable socially distanced, and we weren’t to move around during the displays. This was to make my task a lot harder.
Focus Settings for the Display – Manual AF 1 Pt
To ensure I didn’t miss anything, I didn’t shoot in full manual mode. Looking around me, I could see dark trees and the white sky could complicate things when trying to get the right exposure, if everything was fixed.
As a result, I went into TV / Shutter Priority mode so I could fix the shutter speed. For all displays, I ensured I had a shutter speed of at least 1/1000 sec, ensuring any action would be frozen.
Hi-Speed continuous shooting and AI Servo mode was used to ensure tracking and I could fire of a lot of shots really quickly.
Even at 1/2000 sec for one of the shots, the bird’s wingtips had slight motion blur.
There were three flights, and I used 3 different focal points for all of them, purely to experiment and see which was best.
The first focal point was a Single Point, AF selection which I could manually select. Never really having shot birds before, I left it dead centre.

It was like shooting a gnat with a Nerf Gun! Trying to pick out the darting, speedy Falcon was nigh on impossible, for me anyway.
Getting that little focal point targeted on the feathered thing flying over our heads proved to be a challenge to say the least.
Here are a few of the better shots.


Focus Settings for the Display – Auto Select AF
Still in shutter priority, I thought I would give myself a better chance at capturing the next bird. Although, due to the type of bird, their movement, and how fast they flew, the job was a lot easier.
I changed from AF point selection to Auto Selection AF. Until now, I had never used this option, despite it being on Canon 5D Mk3, which I have had for over 7 years!

This option, means you can select your Subject and your AF point and and it will continue to track that subject in the brackets indicated above.
This proved hugely successful in tracking the large owl and resulted in me getting the best photos of the day. Yes, the subject was big and yes, the subject didn’t dart around like a Falcon. But, the focus stayed on point and tracked it beautifully as it flew at various angles.
Here are a couple of my favourite.


Focus Settings for the Display – Manual Select Zone AF
The third and final bird, whose breed / name escapes me, was the fastest of the three.
In fact, as the bird handler walked out to start it, he glanced at me, looked at my camera, and said “Good luck!”
“Pffh” I thought. I have a state of the art camera with an equally state of the art lens. This will be a doddle. He was right, I was wrong. It wasn’t.
Although of course the camera wasn’t to blame.
I changed the focal settings from shooting the owl, and I will never know if that was the mistake I made.

I changed to Manual Zone AF. This is similar to the one used in the first bird, the 1 point AF, but gives it a Zone to target, rather than a single point.
However, the handler proved to be right, and this bird was extremely hard to capture. In fact, these were the best I could muster, as it swooped in to get his prey.


It would have been super interesting to see what results I would have got using the Auto Selection AF I used for the owl.
Understanding Canon Focus points. What have I learned
As with everything I try and do now, I am trying to better myself, to improve my photography, my knowledge and my technical expertise.
On this outing, I learnt all about the different focal points, and how they kind of work. I say kind of, as I want to explore them again, with perhaps another go at birds for a good comparison.
You can find all of the images taken on this shoot in my portfolio.
I hope you found this useful.
Until then, I look forward to seeing you in the next blog post.